Target Import Checklist
When using the TargetDealSummaryTemplate as described in the above article, for the initial batch Target import, be sure to complete the below "checklist" before attempting an import.
- Once the template has been downloaded.
- Press the Enable Editing button highlighted in yellow.

- In order to extend the table, the user must navigate to the end of the table, around column AP and "grab" the "carrot displayed in the bottom right cell of the table.
- Click and drag the corner down to add enough rows to accommodate new targets.
- Verify this is done correctly by checking how many rows have the red highlighted 'code name' field and alternating colored rows depicted in the image below.
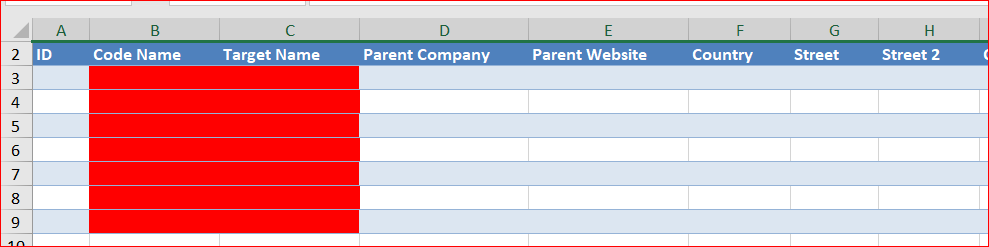
- When importing new targets, be sure to confirm that the ID column is left empty.
- ‘Code Name’ and ‘Target Name’ are required fields, along with the 'Deal Lead' field. The above example shows the codename field highlighted in red because it is missing a value.

- Remove all formatting from the values (font color, hyperlinks, cell background colors, etc.). If copying and pasting from another spreadsheet/document, use the ‘paste values only’ option.
- When filling in the ‘Country’ field, first click on the drop-down arrow to reveal the menu of country options. Entering an invalid value will cause an error within excel or in the Devensoft platform upon import.
- In this example, ‘US’ should be ‘United States.'
- For all columns with drop-down menus, first, check what the valid values are before adding content.
- When choosing the ‘United States’ for country, the ‘State’ field is not required, but if a value is entered, it must be a valid name.
- Spellcheck all values for accuracy and compliance with predefined values in template drop-down menus for columns that utilize them.
