Checking Out/In Documents (Editing Documents)
The Documents tab serves as a great respository for storing documents, allowing users to check out documents for editing purposes followed by checking them in. All document revisions are cataloged and include the version, the person who made the revisions, when the revisions were made, file name, file size, and comments.
To edit a document, the document needs to be checked out. To do this:
Check Out Document
- Open your Integration (or Target) and select the Documents tab.
- Select the name of the document under the Name column. This will take you to the Document Detail page.
- Select the "Check Out" button.
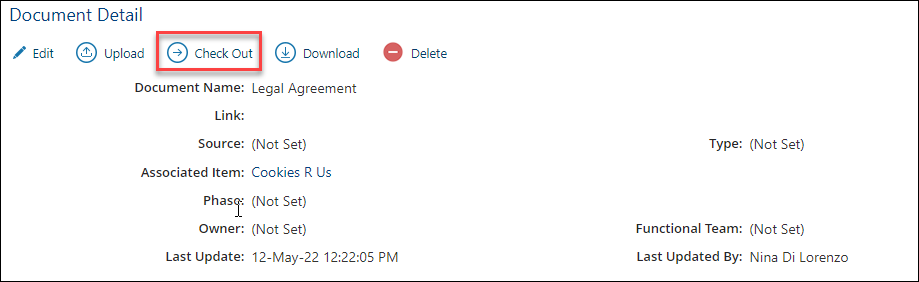
- The checked-out bar notification briefly appears in the lower, left corner of your screen, followed by the document opening in its native application.
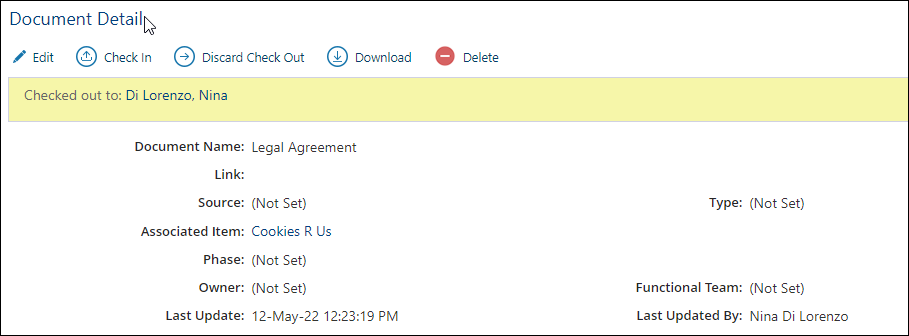
In the Documents view, users will see the Checked Out icon.
Edit a Document
- After the document has been downloaded, open the file. At the top of your file, you MAY see the Enable Editing button (on the yellow banner), displayed at the top of the document. If you see this button, select it so that you can edit your document.

- Make the necessary modifications.
- Save your changes and close the file.
- Return to Devensoft and navigate to Documents tab of an Integration (or Target).
- Open the document by clicking on the title. The Document Detail page opens.
- Select the Check-in button. The document revision window appears.

- Select Choose File to locate the document to upload.
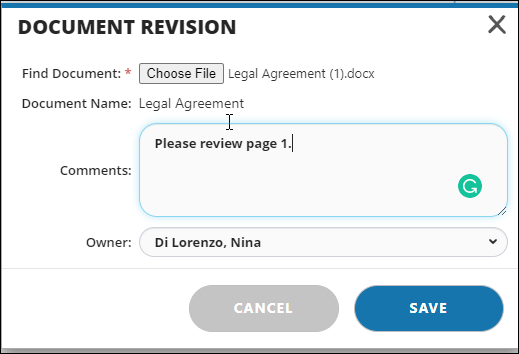
- In the Comments field add important comments as these will be viewed in the Document Revisions section of the Docuemnt Detail page.
- If needed, update the owner of the document from the owner drop-down list.
- Select the Save button.
- In the Document Revisions section, the newly edited document has been checked-in and the original document is also listed.

