[HowTo] Create a Risk in Programs and Targets
Risks are important to capture during a Program or Target as they provide insights into potential issues and challenges. The key is to avoid risks turning into issues.
Devensoft M&A provides the mechanism to enter, track and manage risks throughout the Program or Target lifecycle. From a “best practice” perspective, a risk is “an uncertain future event or condition that, if it occurs, has a positive (opportunity) or negative (threat) effect on one or more project objectives.” Opportunities are exploited and threats are mitigated, avoided, transferred, or accepted.
Risks are evaluated primarily by impact and probability.
Creating Risks in Programs:
- From the Main Menu Bar, navigate to the Programs menu.
- Select the applicable submenu.
- Select a Program from the Program Name column.
- Select the Risks tab.

- Click the +Create button where the Risk Detail window opens.
- Type the name of the risk in the Name field.
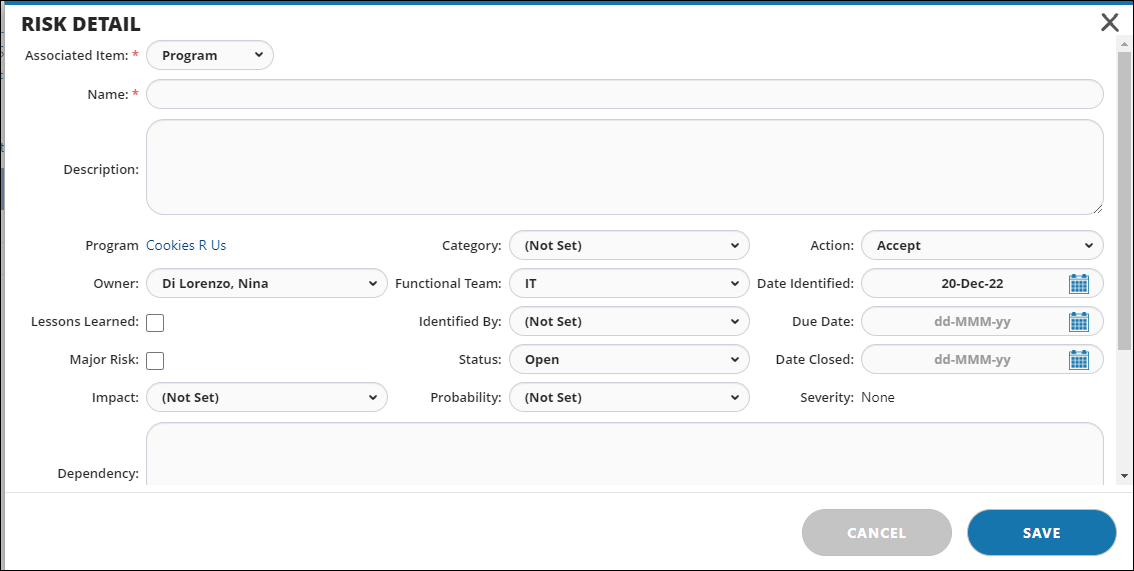
- Complete the remaining fields, including the Mitigation Plan, listed under the Dependency field.
- Additional fields worth noting:
* Lesson Learned - select this checkbox in order for the Risk to appear on the Lessons Learned report.
* Major Risk - select this checkbox in order for the Risk to appear in dashboards and reports. - When done, press Save.
- The Risk appears in the Risk view.
Creating Risks in Targets:
- From the Main Menu Bar, navigate to the Targets menu.
- Select a Target from the Target Name or Code Name column.
- Select the Risks tab.

- Click the +Create button where the Risk Detail window opens.
- Type the name of the risk in the Name field.
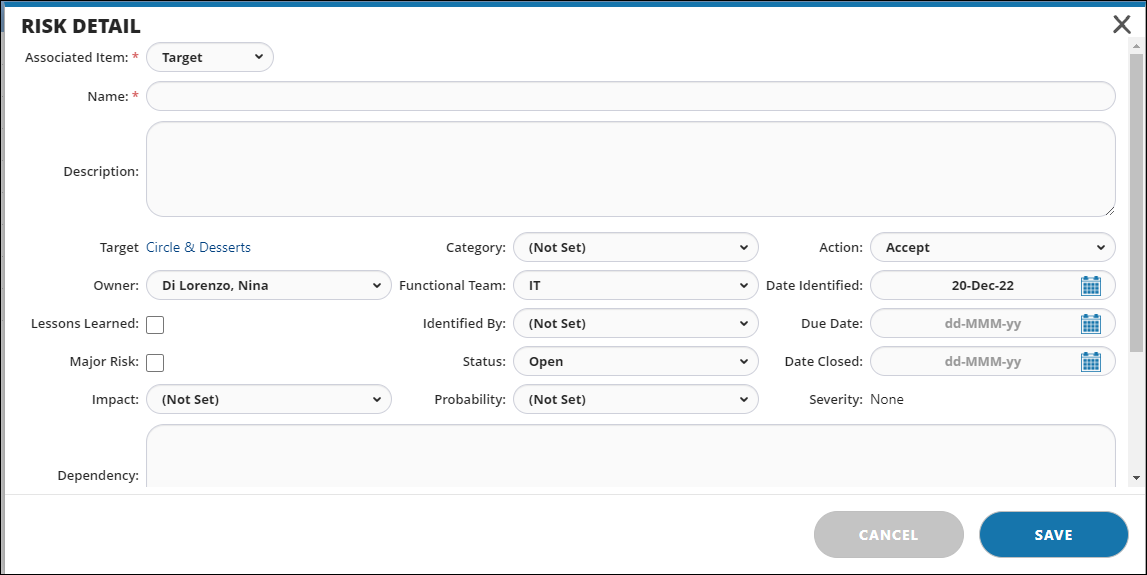
- Complete the remaining fields, including the Mitigation Plan, listed under the Dependency field.
- Additional fields worth noting:
* Lesson Learned - select this checkbox in order for the Risk to appear on the Lessons Learned report.
* Major Risk - select this checkbox in order for the Risk to appear in dashboards and reports. - When done, press Save.
- The Risk appears in the Risk view.
