How do I Set Permissions for a Document?
Adding permissions for a document prevents a group of people who are part of an Access Role from reading, updating or deleting a document(s). Adding permissions is done from the Documents tab.
To set permissions:
- Open a Target or Integration.
- In the Tab Bar, click on the Documents tab.
- In the Documents list page, click on the document title. The Document Detail page opens.
- Scroll to the bottom of the page to the Access Permissions section and click on the arrow to expand.
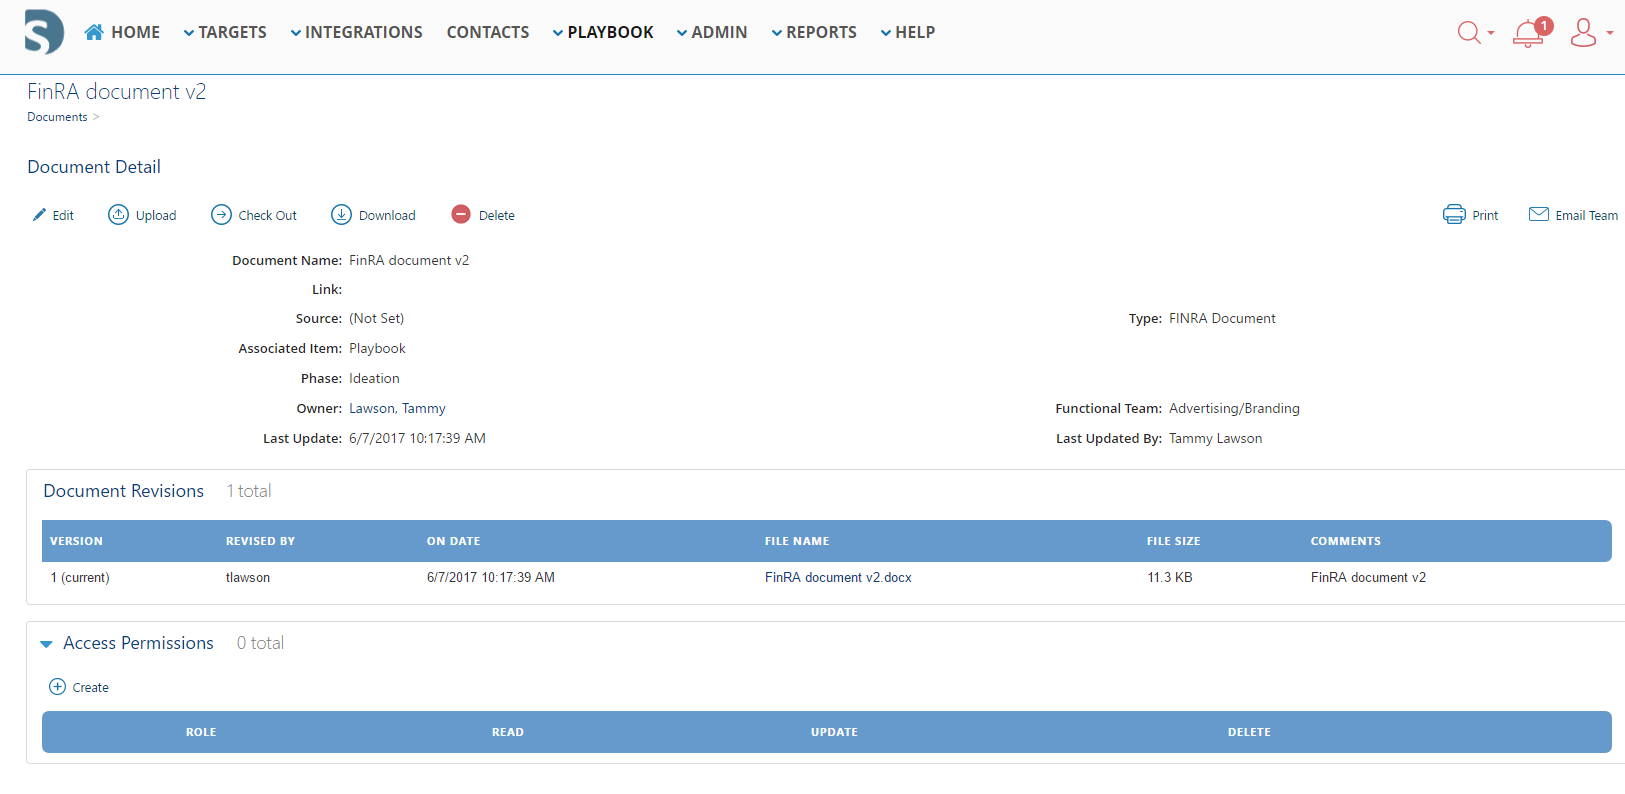 Document Access Permissions Section
 - Adding permissions is a 2-step process.
- Set permissions for Everyone:
- Click on the + Create button.
- In the Role field, choose Everyone and leave the Read, Update and Delete boxes unchecked. This will disable access to everyone, EXCEPT the roles you specify next.
- Click Save.
- Set permissions for each Role:
- Click on + Create button.
- In the Role field, chose the Role, e.g. IT Lead.
- Select the Read, Update, and/or Delete checkboxes. This allows the IT Lead to Read, Update and/or Delete the document.
- Click Save.
- To grant access to other roles, repeat steps 5.b.1 - 4.
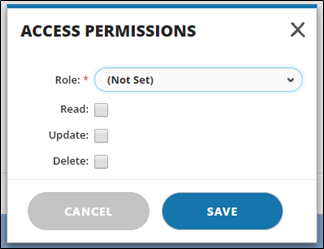 Access Permissions Window
- Set permissions for Everyone:
