Exporting Data from an Integration
If you only have many updates to make within your Integration's Activity Map, use the exporting feature.
Multiple Edits;
TIP: To speed up the exporting process, filter on the criteria that you need vs. exporting all of the data.
- Go to the Menu Bar.
- Select Programs/Integrations
- Select your Integration.
- From the Activity Map tab, click on the Export button. The exporting process begins and will download all of the data within the Activity Map to an Excel spreadsheet.
- Open the downloaded Excel file.
- If necessary, select Enable Editing at the top of the spreadsheet.
- When editing your spreadsheet, please follow these guidelines:
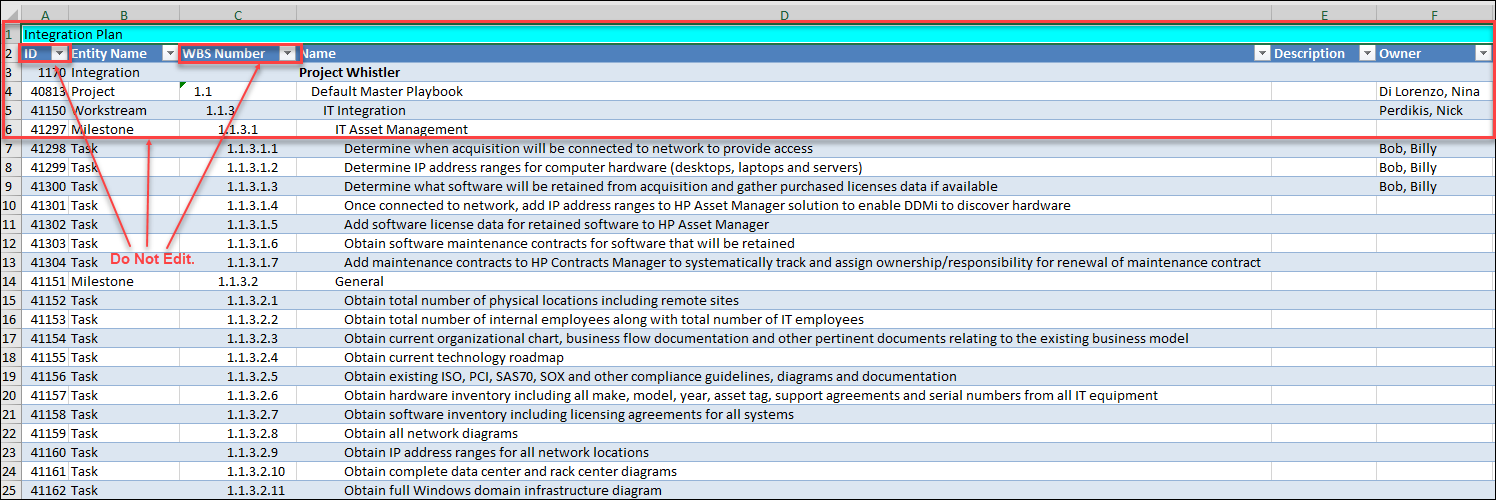
- Leave rows 1 - 4 alone. Editing these rows will disrupt the import process.
- Do not delete the ID's or WBS Numbers as these are system generated once imported.
- Do not edit or remove the column headers.
- For the Entity Name column use the drop-down menu values vs. manually typing in “Task.” Manually typing in tasks, etc. WILL NOT import properly.
- Entity Name – use the drop-down menu to select your values.
- Name – enter the description of the Activity.
- Forcast Start Date – use the following format: 10/01/2022
- Forcast End Date – use the following format: 11/01/2022
- Insert Rows - Insert the number of rows needed for the data that you will be entering within the spreadsheet. Red filled cells will appear indicating that these are required
fields that you must complete.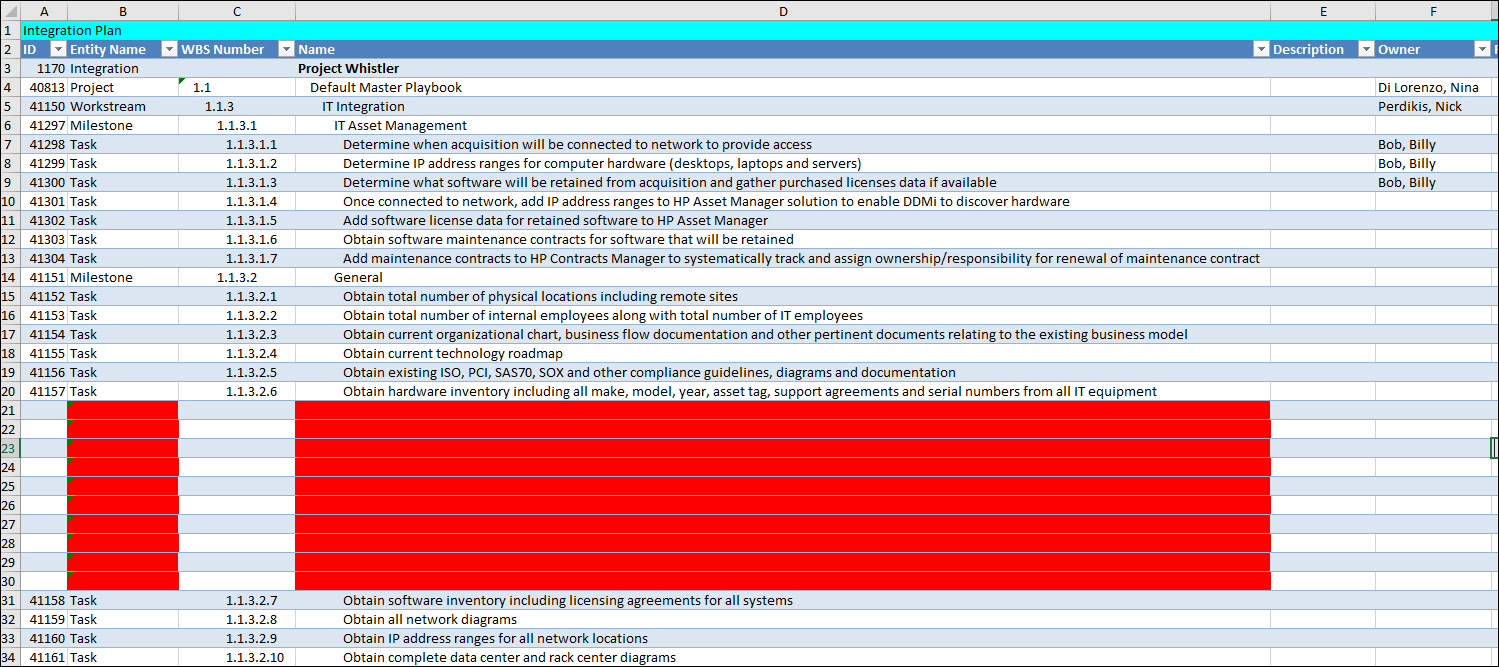
- When you are done, Save your spreasheet.
