Creating Permissions for a Workstream
Creating permissions at the Workstream level allows selected roles to view the data and the children documents for that Workstream. For example, if only the HR Team is to have access to the HR Workstream, then the Administrator or Power User would create Permission for the HR Role to view that Workstream.
Please follow the below steps to create Permissions at the Workstream level.
Note: In order to add Permissions, you must have your Roles created via Admin/Role Administration.
- Open an Integration.
- Navigate to the Activity Map.
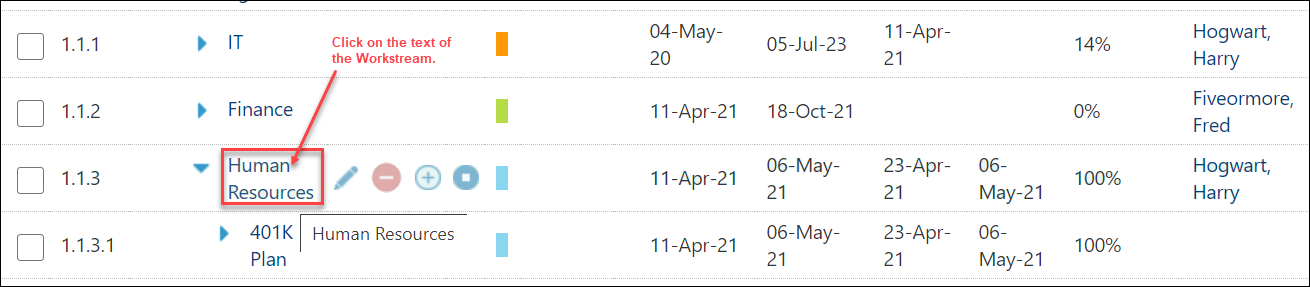
- Scroll to a Workstream, e.g. Human Resources.
- Single-click on the text of the Human Resources Workstream.
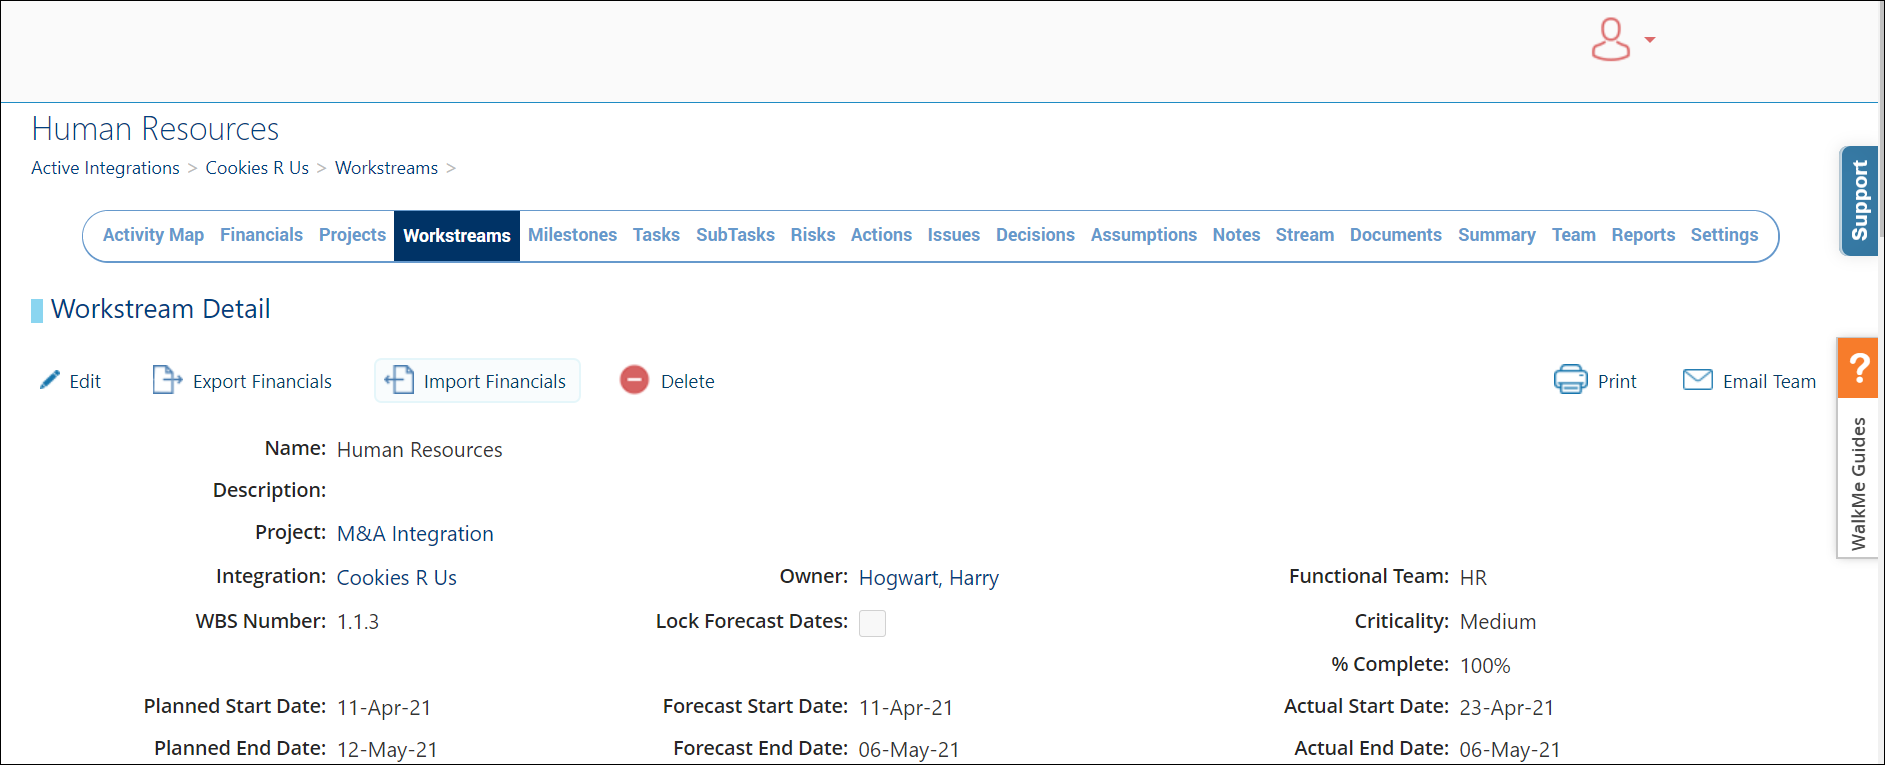
- The Workstream Detail page opens and looks similar to the below page.
- Scroll down to the "Access Permission" section where two (2) types of permissions will be created. The first one indicates that nobody has access to the Workstream and the second permission gives only the HR Role access to the HR Workstream.

- Click on the + Create button.
- Permission 1:
- Click on the + Create button.
- Select the Role, Everyone.
- Leave the Read, Update and Delete checkboxes unchecked.
- Click Save. This will disable access to Everyone. In the next step, you will identify what Role(s) will have access to this Workstream.
- Permission 2:
- Click on the + Create button to set Permissions for the Role that should have access to the Workstream.
- Select the Role of HR Lead.
- In this use case, it will be Human Resources Lead.
- Assign the applicable permission(s).
- Click Save.
- Permission 1:
- When done, the Access Permissions section will look similar to the below screen capture.

